I believe over time I will evolve this recipe. It feels like it could go many different ways. It could go sweet, spicy or salty in my opinion. It does not need to be just for almonds either.
I started with a basic Mediterranean recipe for the holidays. I wanted to give some gifts to special people in my life that came from the heart.
I mixed all the ingredients in a medium sized bowl and put them in a glass dish for roasting. Glass heats evenly.

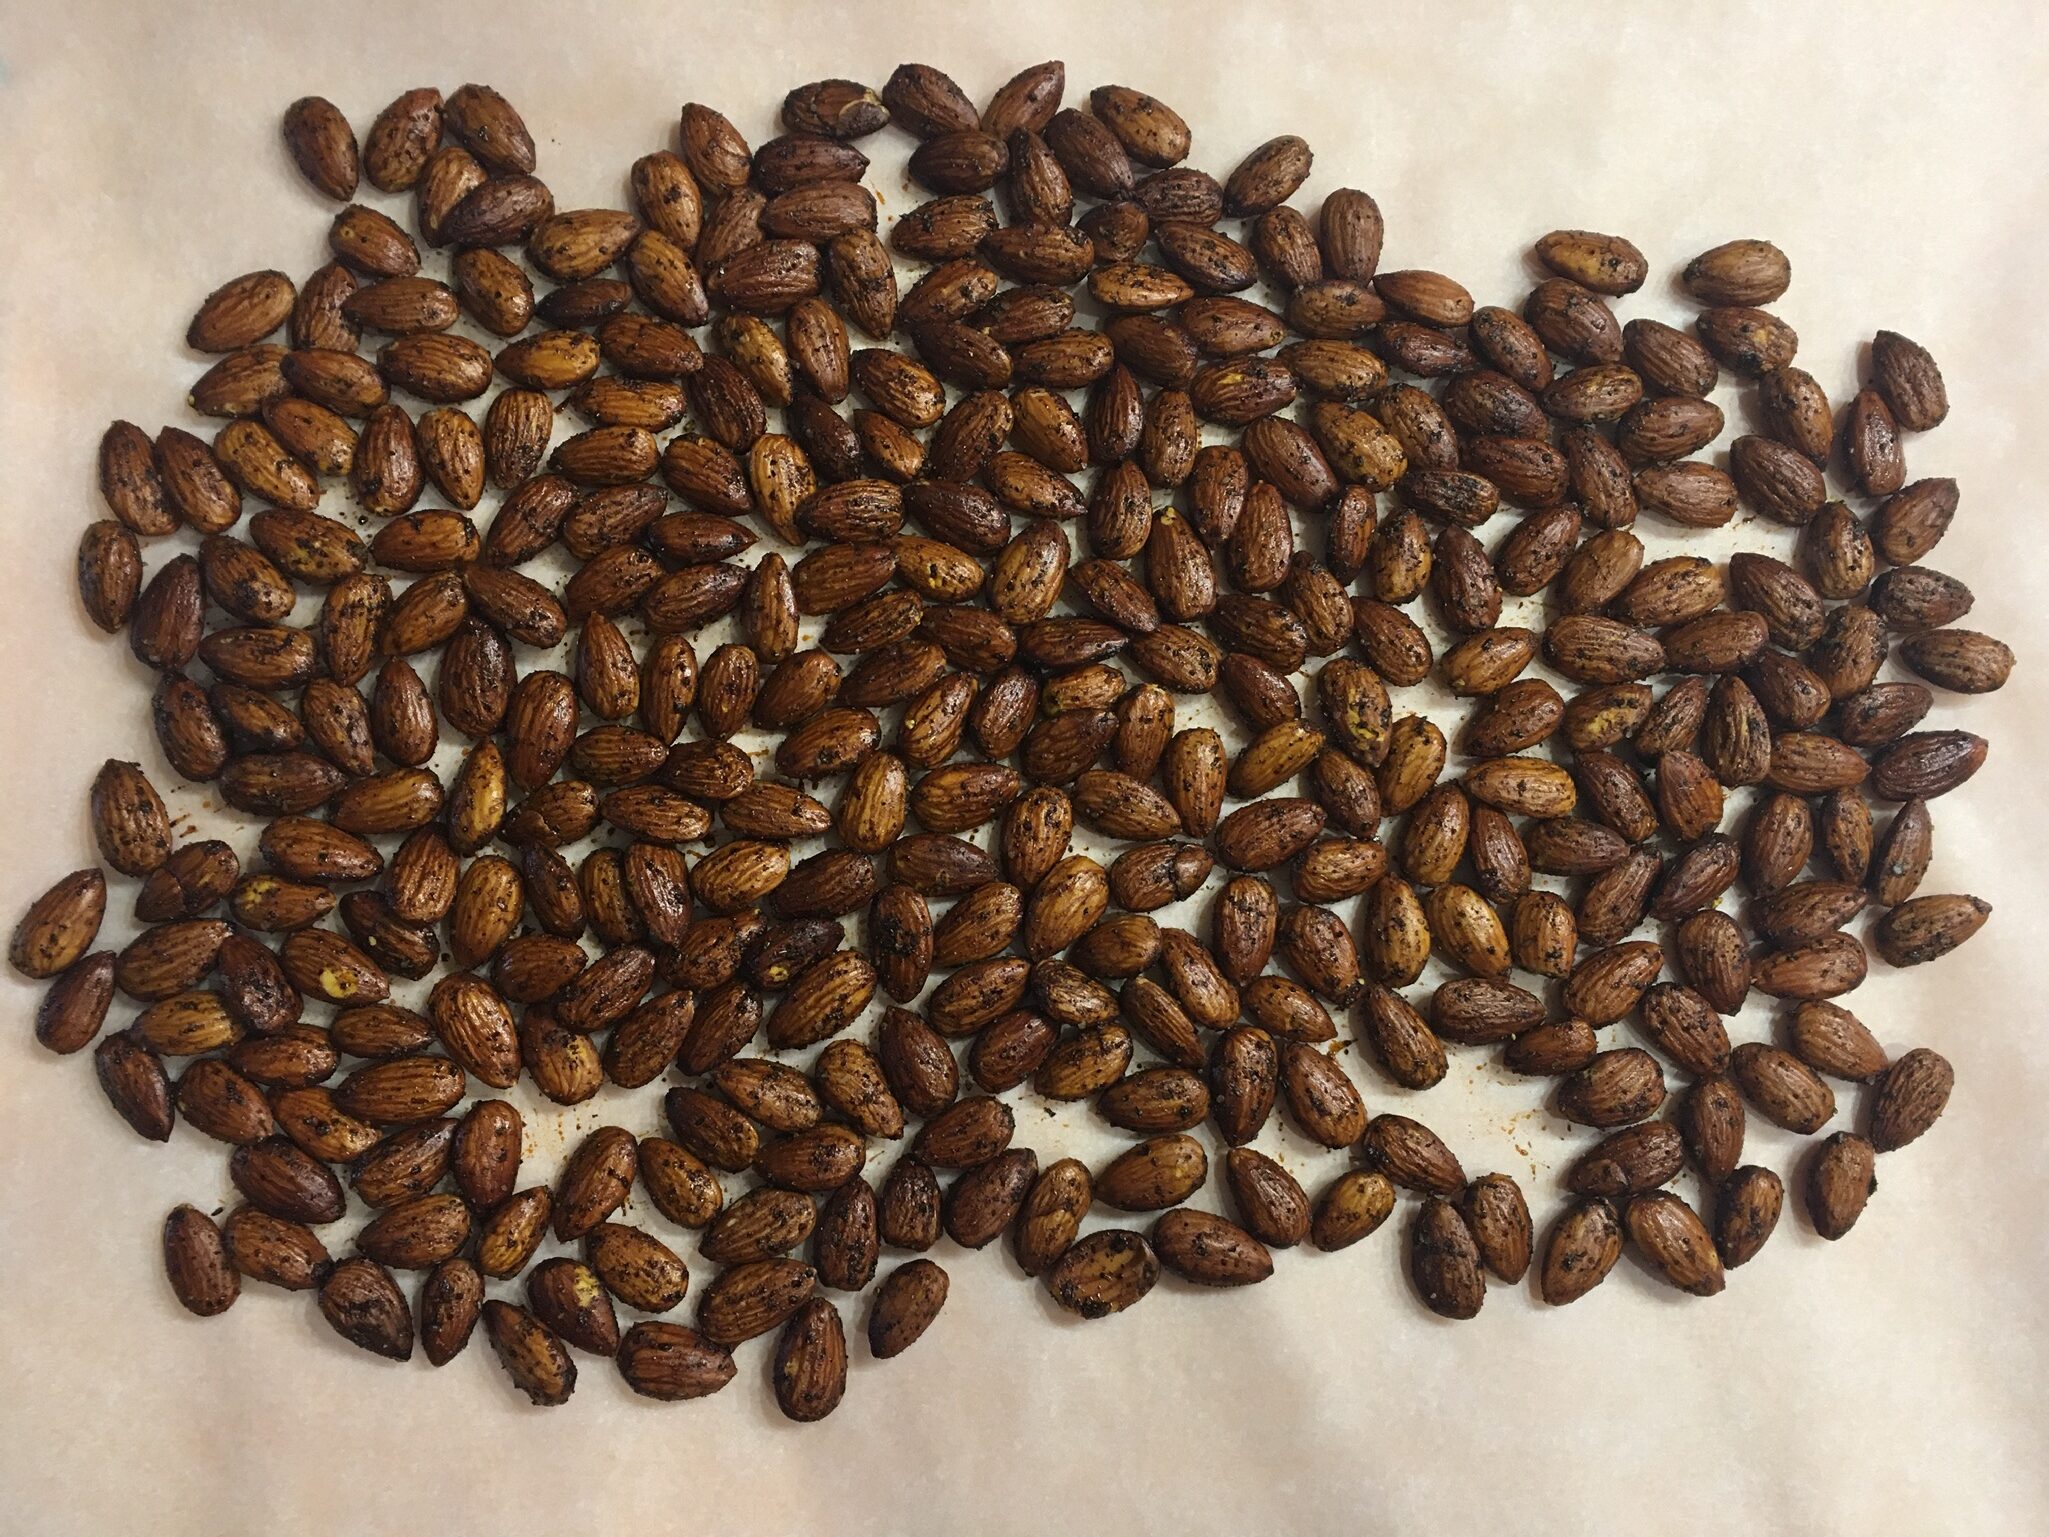
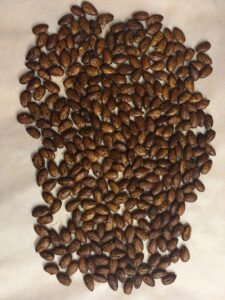
After roasting I put the almonds on parchment paper to cool completely before bagging.
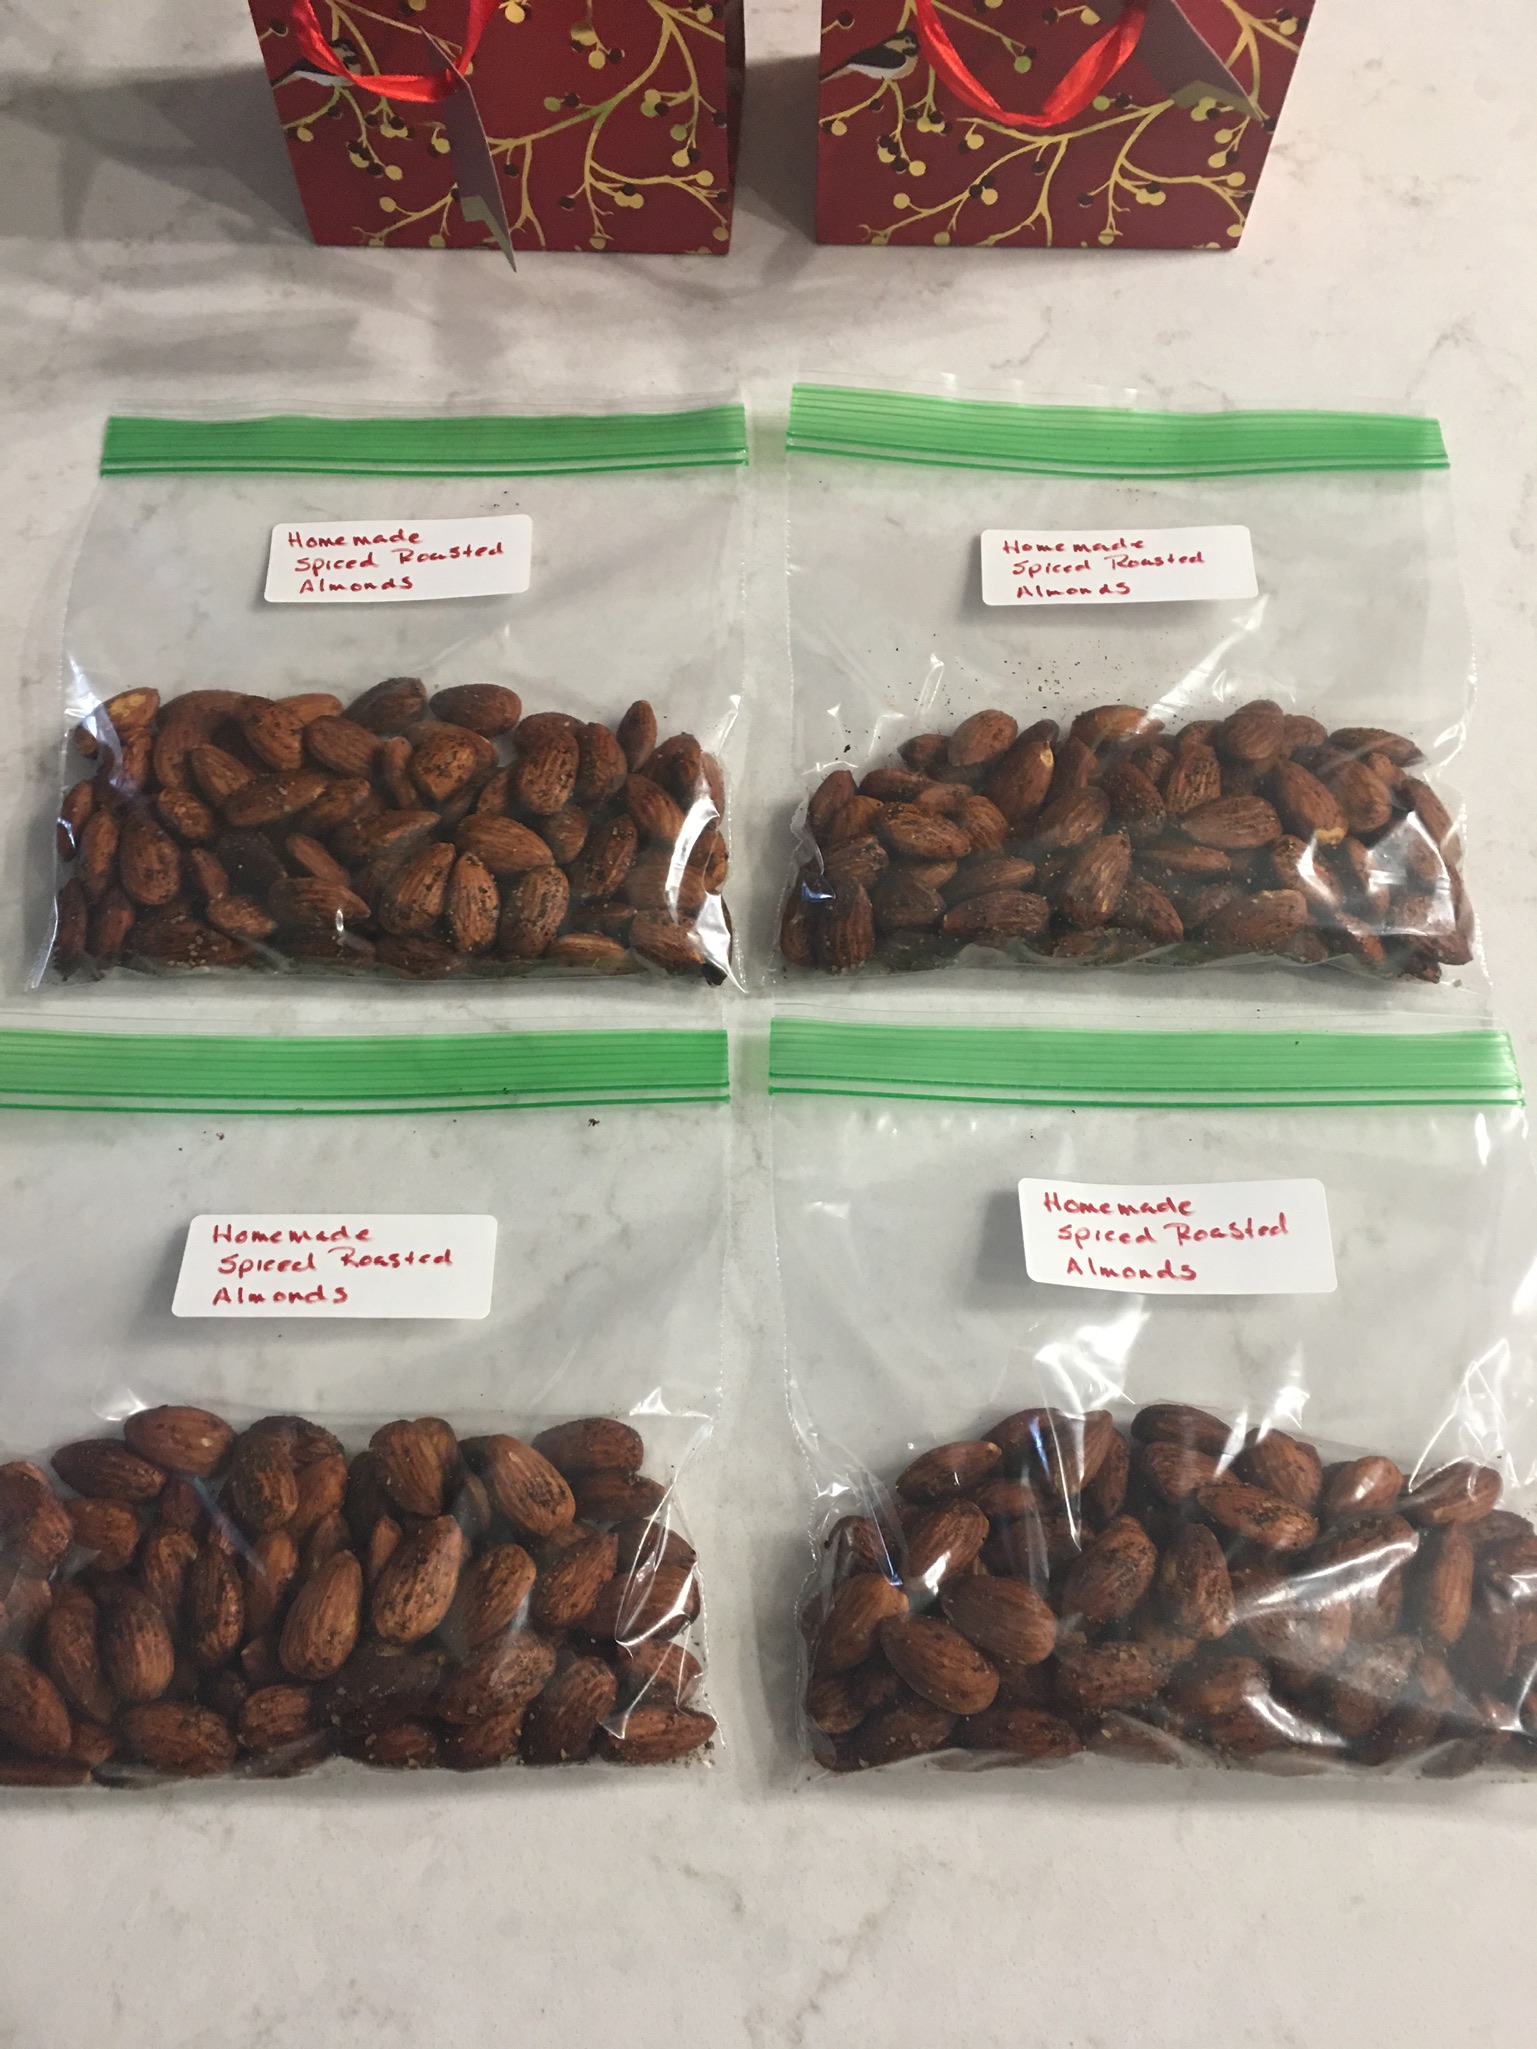
I divided the roasted almonds into four(4) baggies for gifts. In a sealed container they should keep for 5 days.
- 2 cups whole raw almonds
- 1 tbsp olive oil extra virgin
- ½ tsp cumin
- ½ tsp kosher salt
- ½ tsp coriander
- ¼ tsp cinnamon
- ¼ tsp ground black pepper
- 1 tbsp chili powder
- Pre-heat oven to 350 degrees.
- Mix all ingredients in a medium sized bowl. Make sure all nuts are coated in oil and spices.
- Spoon coated nuts into a 13"x9" roasting pan or glass cake dish.
- Roast for 10-15 mins.
Recipe by MyHealthyVegas. Please do not post or reprint this recipe without my permission. If you’d like to feature this recipe on your site, please rewrite the method of preparation and link to this post as the original source.